这里,学习编写简单的Linux Shellcode。本机的系统内核版本如下:

利用execve函数来打印/etc/passwd的内容。
来看一下execve函数的原型:https://man7.org/linux/man-pages/man2/execve.2.html
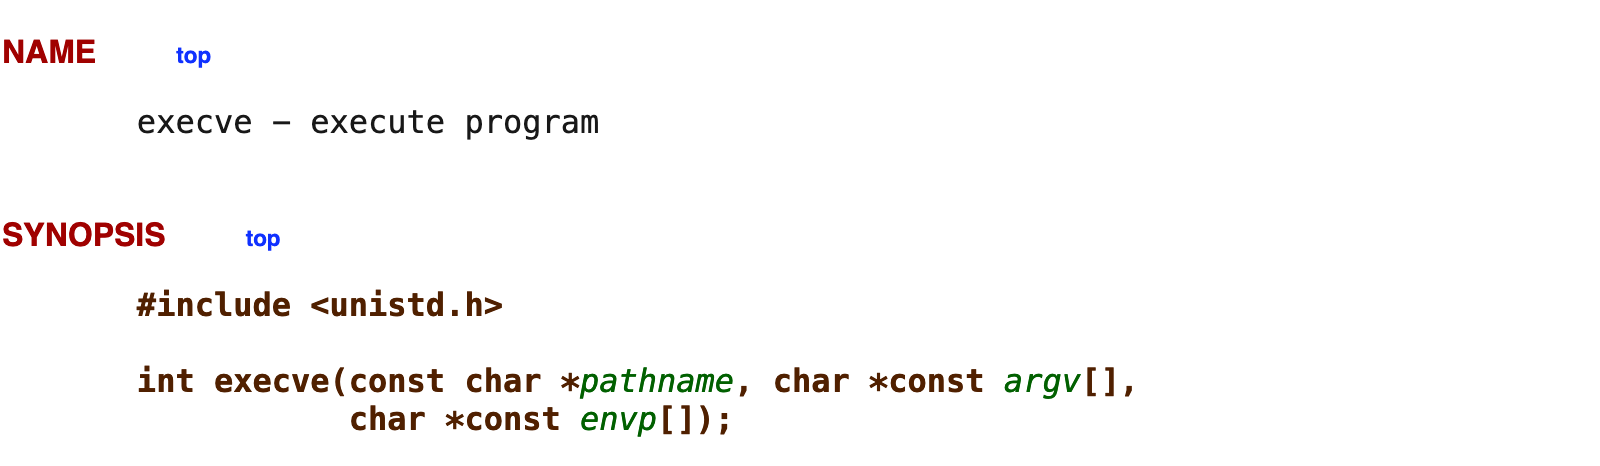
看一下具体的c语言实现:
1 |
|
这个小程序实现的功能是查看/etc/passwd的内容。
编译程序(看有的为了反汇编方便,会静态编译程序,我对比了一下,差别不是很大)
1 | gcc -g -o list list.c |
先弄明白整个程序的执行过程,开启gdb调试。
反汇编main函数:

在(main+68)下断点,然后运行程序。
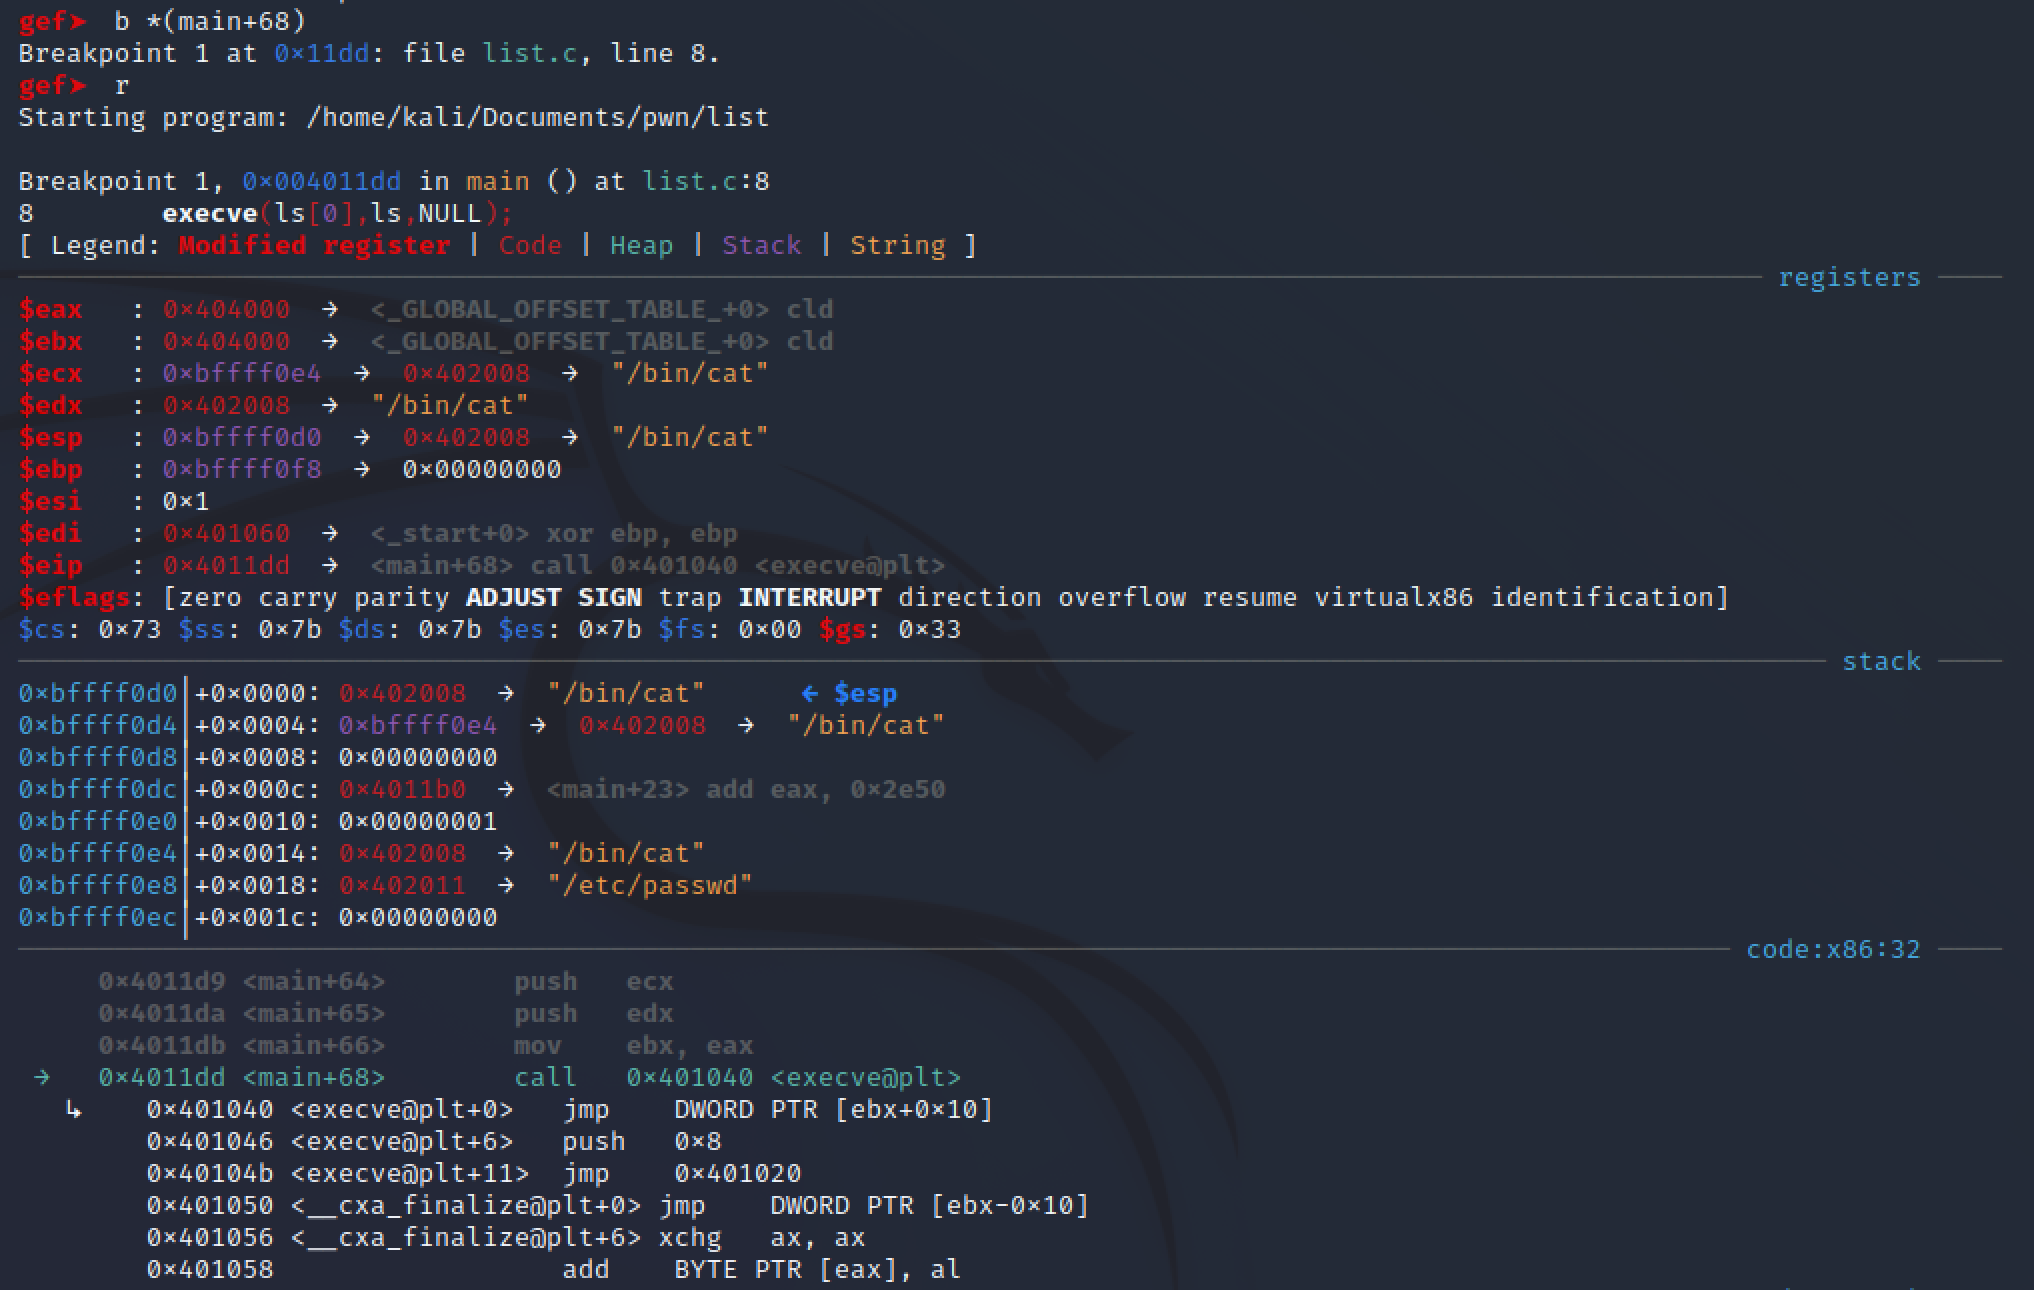
查看此时eip的值,指定指向调用execve函数。

反汇编execve函数:

在(execve+18)处下断点,继续跟进。
可以发现内部通过call DWORT PTR gs:0x10执行系统调用中断,进入系统调用。执行__kernel_vsyscall函数。
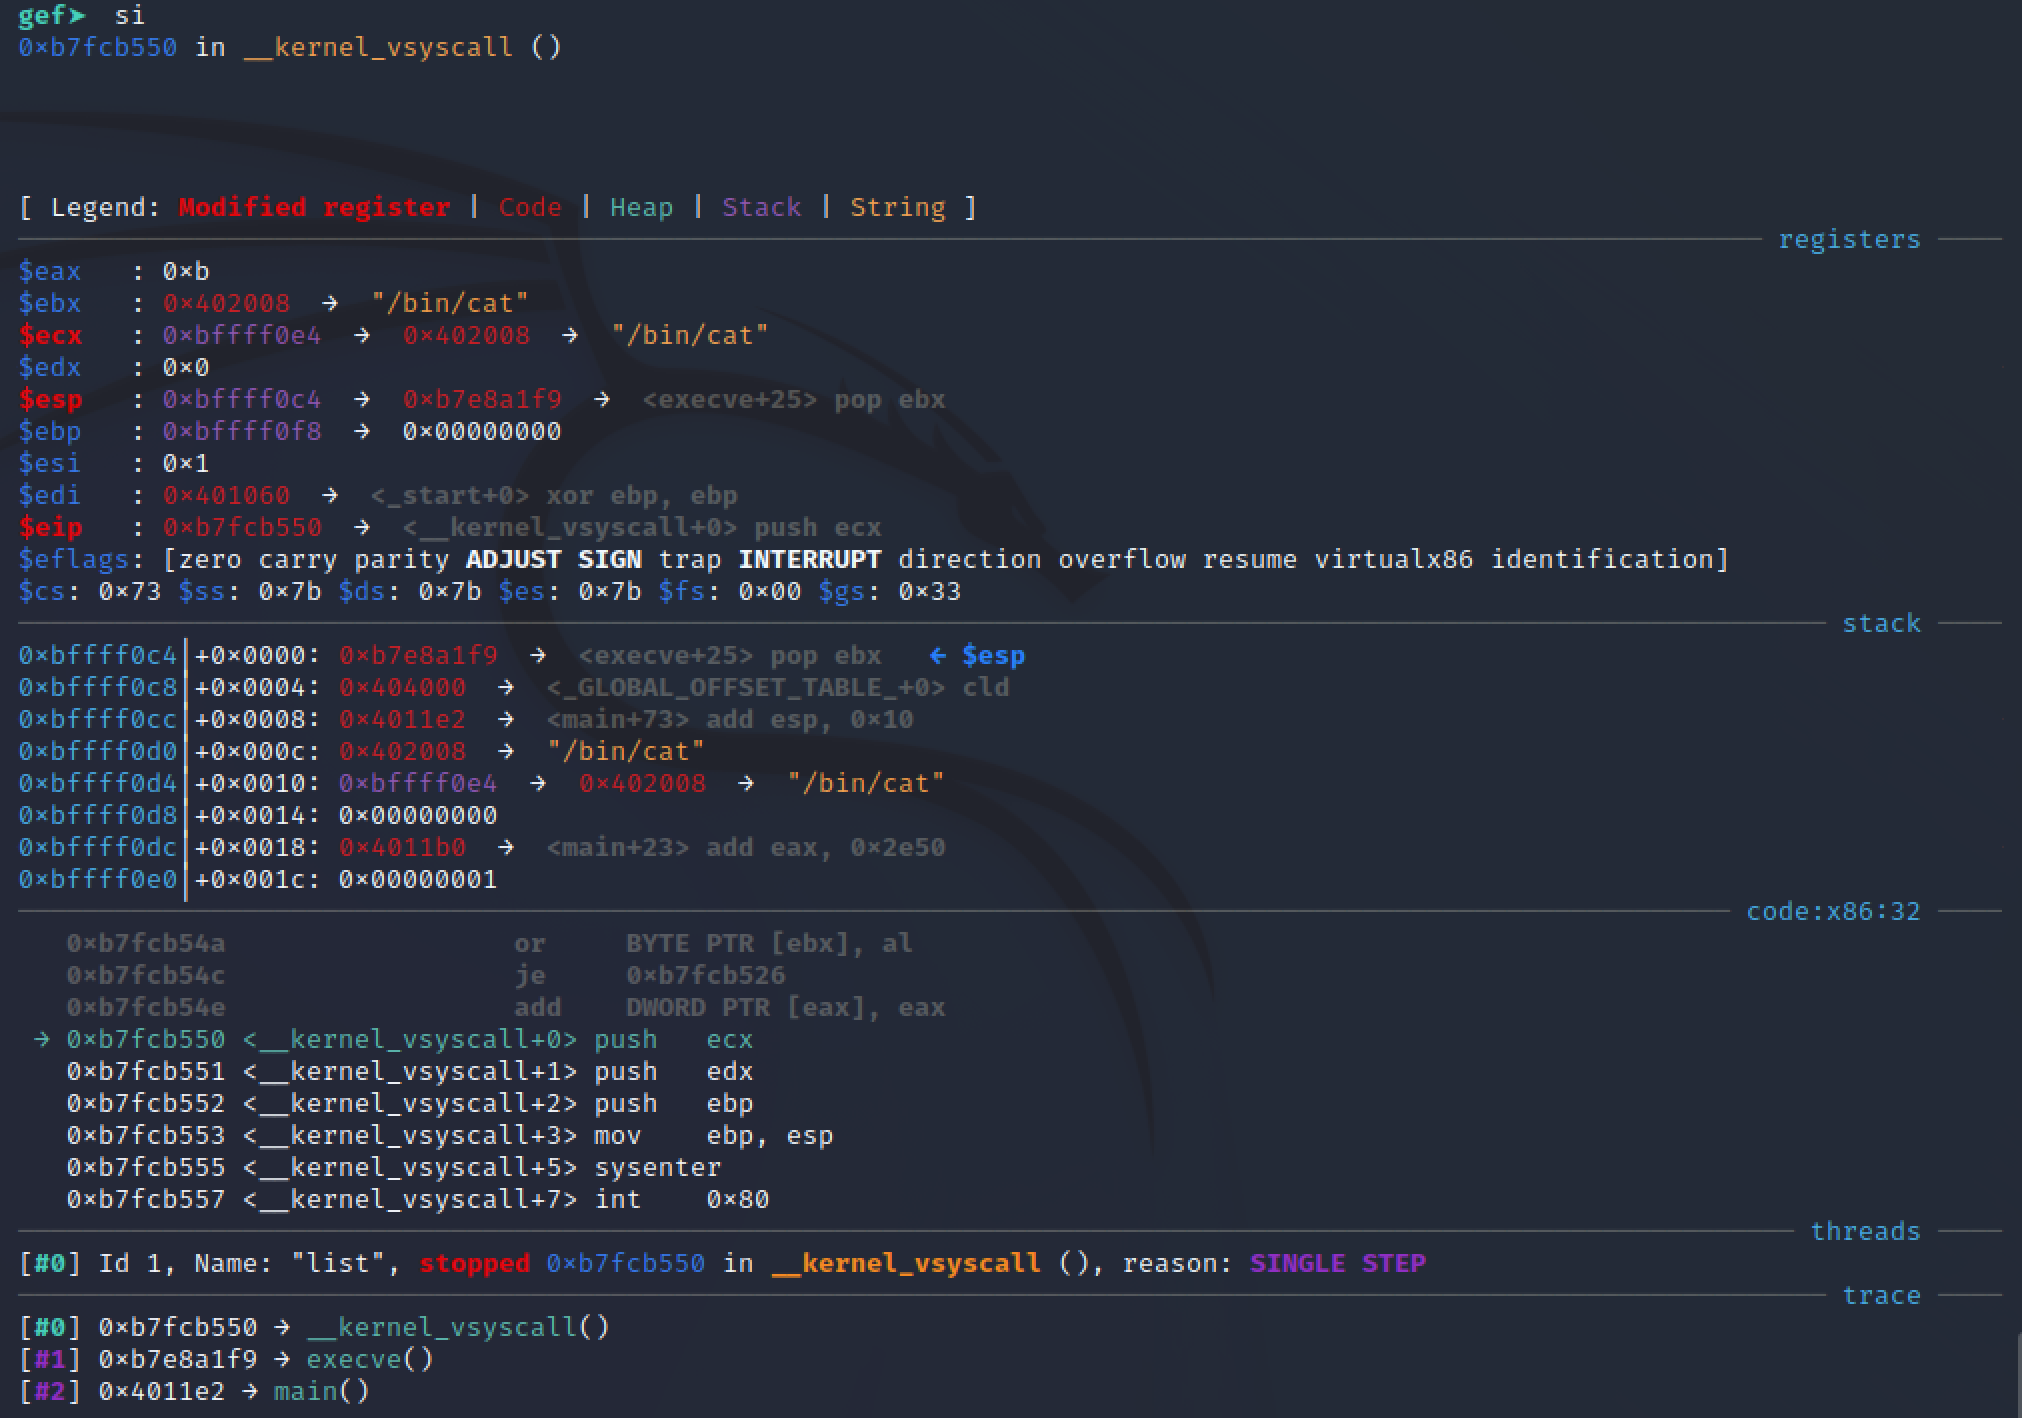
查看一下此时各寄存器的值。

这里,eax保存的是execve函数的系统调用号,ebx保存的是execve函数的第二个参数,ecx保存的是execve函数的第三个参数,edx的值为0。
注意后续的两条指令,sysenter和int 0x80。通过80中断(软中断)进入系统调用的方式是Linux 2.6之前的做法。指令sysenter是在奔腾(R) II处理器上引入的“快速系统调用”功能的一部分。指令sysenter进行过专门的优化,能够以最佳性能转换到保护环 0(CPL 0)。sysenter是int 0x80的替代品,实现相同的功能。这里稍微有点疑问,为什么会连两条中断进入系统调用的指令,难道现在优先用第一条,如果不行再第二条?
在32位系统里面,execve函数的系统调用号可以通过如下方式查询:
1 | cat /usr/include/i386-linux-gnu/asm/unistd_32.h | grep execve |

注意:以上ecx的值其实是一个二阶指针。具体可以看下面:

到目前为止,程序的整个运行过程基本搞清楚了。现在来写一个汇编实现。
1 | section .text |
上面这段代码里面,注意/bin/cat和/etc/passwd都是按照四个字符一组进行分割,转换成16进制,压入栈中。linux有个地方很有意思/bin/cat和/bin//cat最后解析出来是一样的。这样四个字符一组的时候,出现空缺的字符可以用/代替,毕竟不会影响最后的解析。还要注意大小端的问题。
编译:
1 | nasm -f elf32 call_execve.asm |
链接:
1 | ld -m elf_i386 -o call_execve call_execve.o |
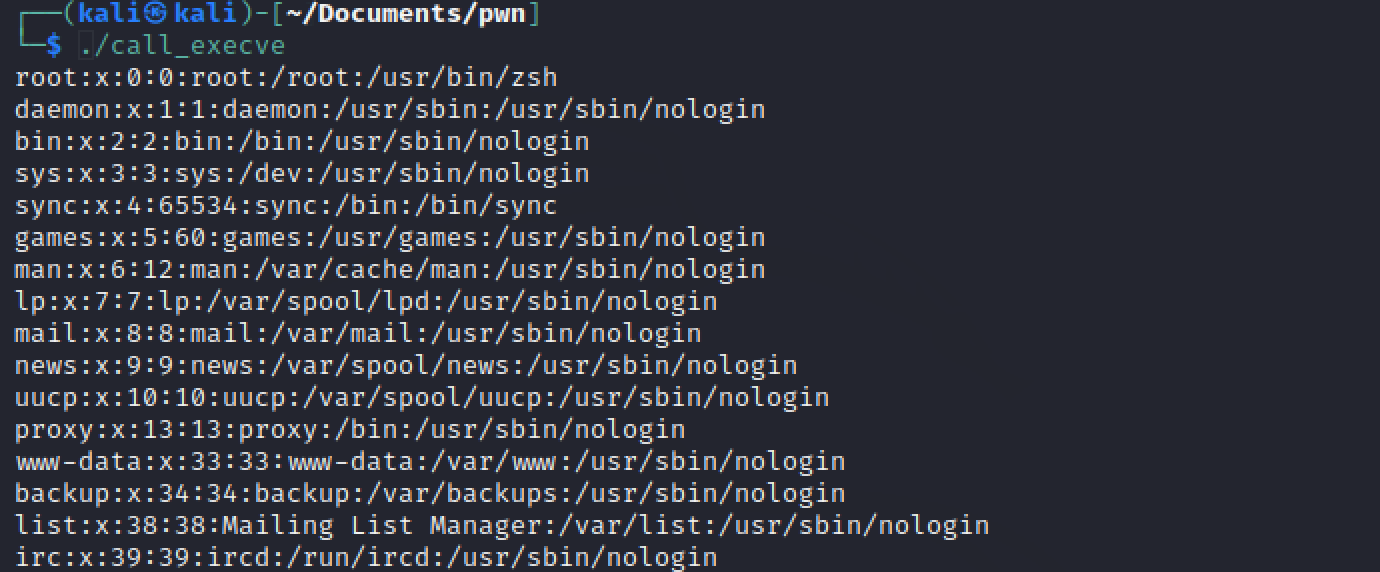
执行效果如下:
现在,来提取shellcode。参考:https://www.commandlinefu.com/commands/view/6051/get-all-shellcode-on-binary-file-from-objdump
1 | objdump -d ./call_execve|grep '[0-9a-f]:'|grep -v 'file'|cut -f2 -d:|cut -f1-6 -d' '|tr -s ' '|tr '\t' ' '|sed 's/ $//g'|sed 's/ /\\x/g'|paste -d '' -s |sed 's/^/"/'|sed 's/$/"/g' |

最后,测试一下。这里用到了函数指针的概念。
1 |
|
这里会出现一个问题,编译之后运行会出现segmentation fault。这个错误的出现与内核版本有关,解决办法可以参考:https://medium.com/csg-govtech/why-doesnt-my-shellcode-work-anymore-136ce179643f
简而言之,就是把全局变量变为局部变量。我发现改完之后直接编译,运行还是会出错。发现需要编译的时候加上-z execstack,最终才能正常运行。
最终的测试代码如下:
1 |
|
编译方式如下:
1 | gcc -z execstack -g customshellcode.c -o customshellcode |

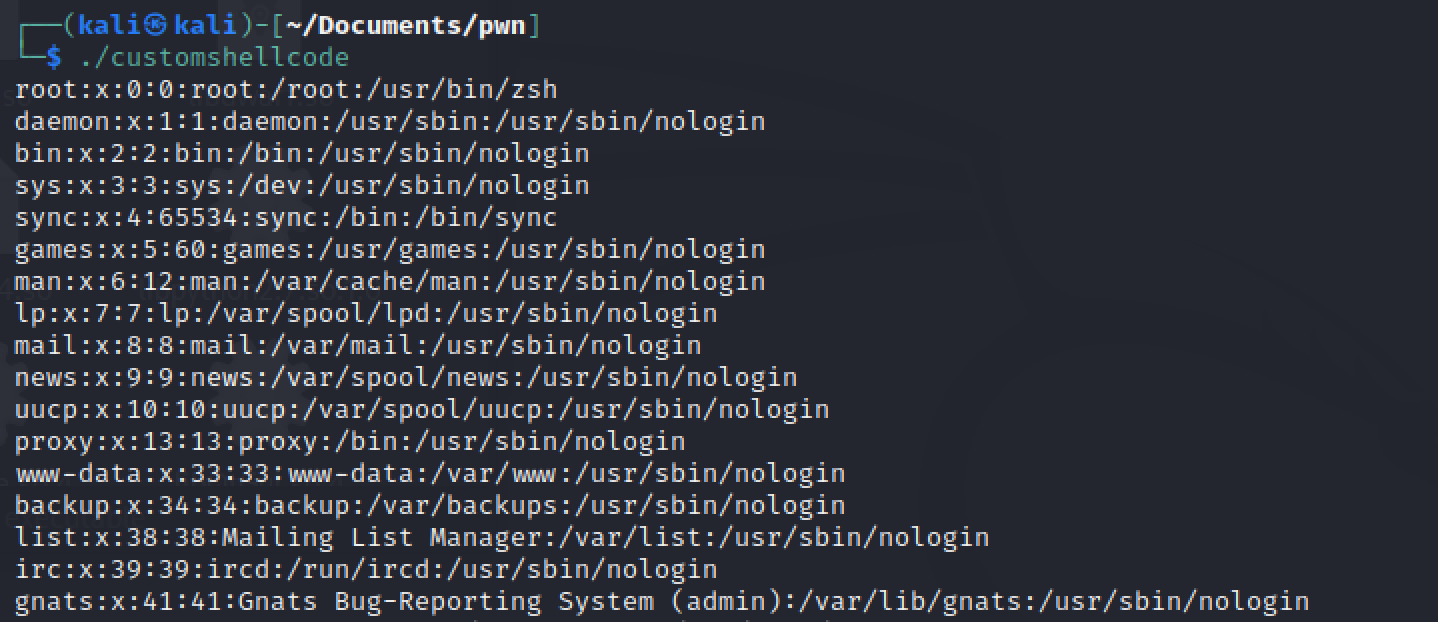
最终,运行成功:
参考:
1.https://www.cnblogs.com/LittleHann/p/4111692.html